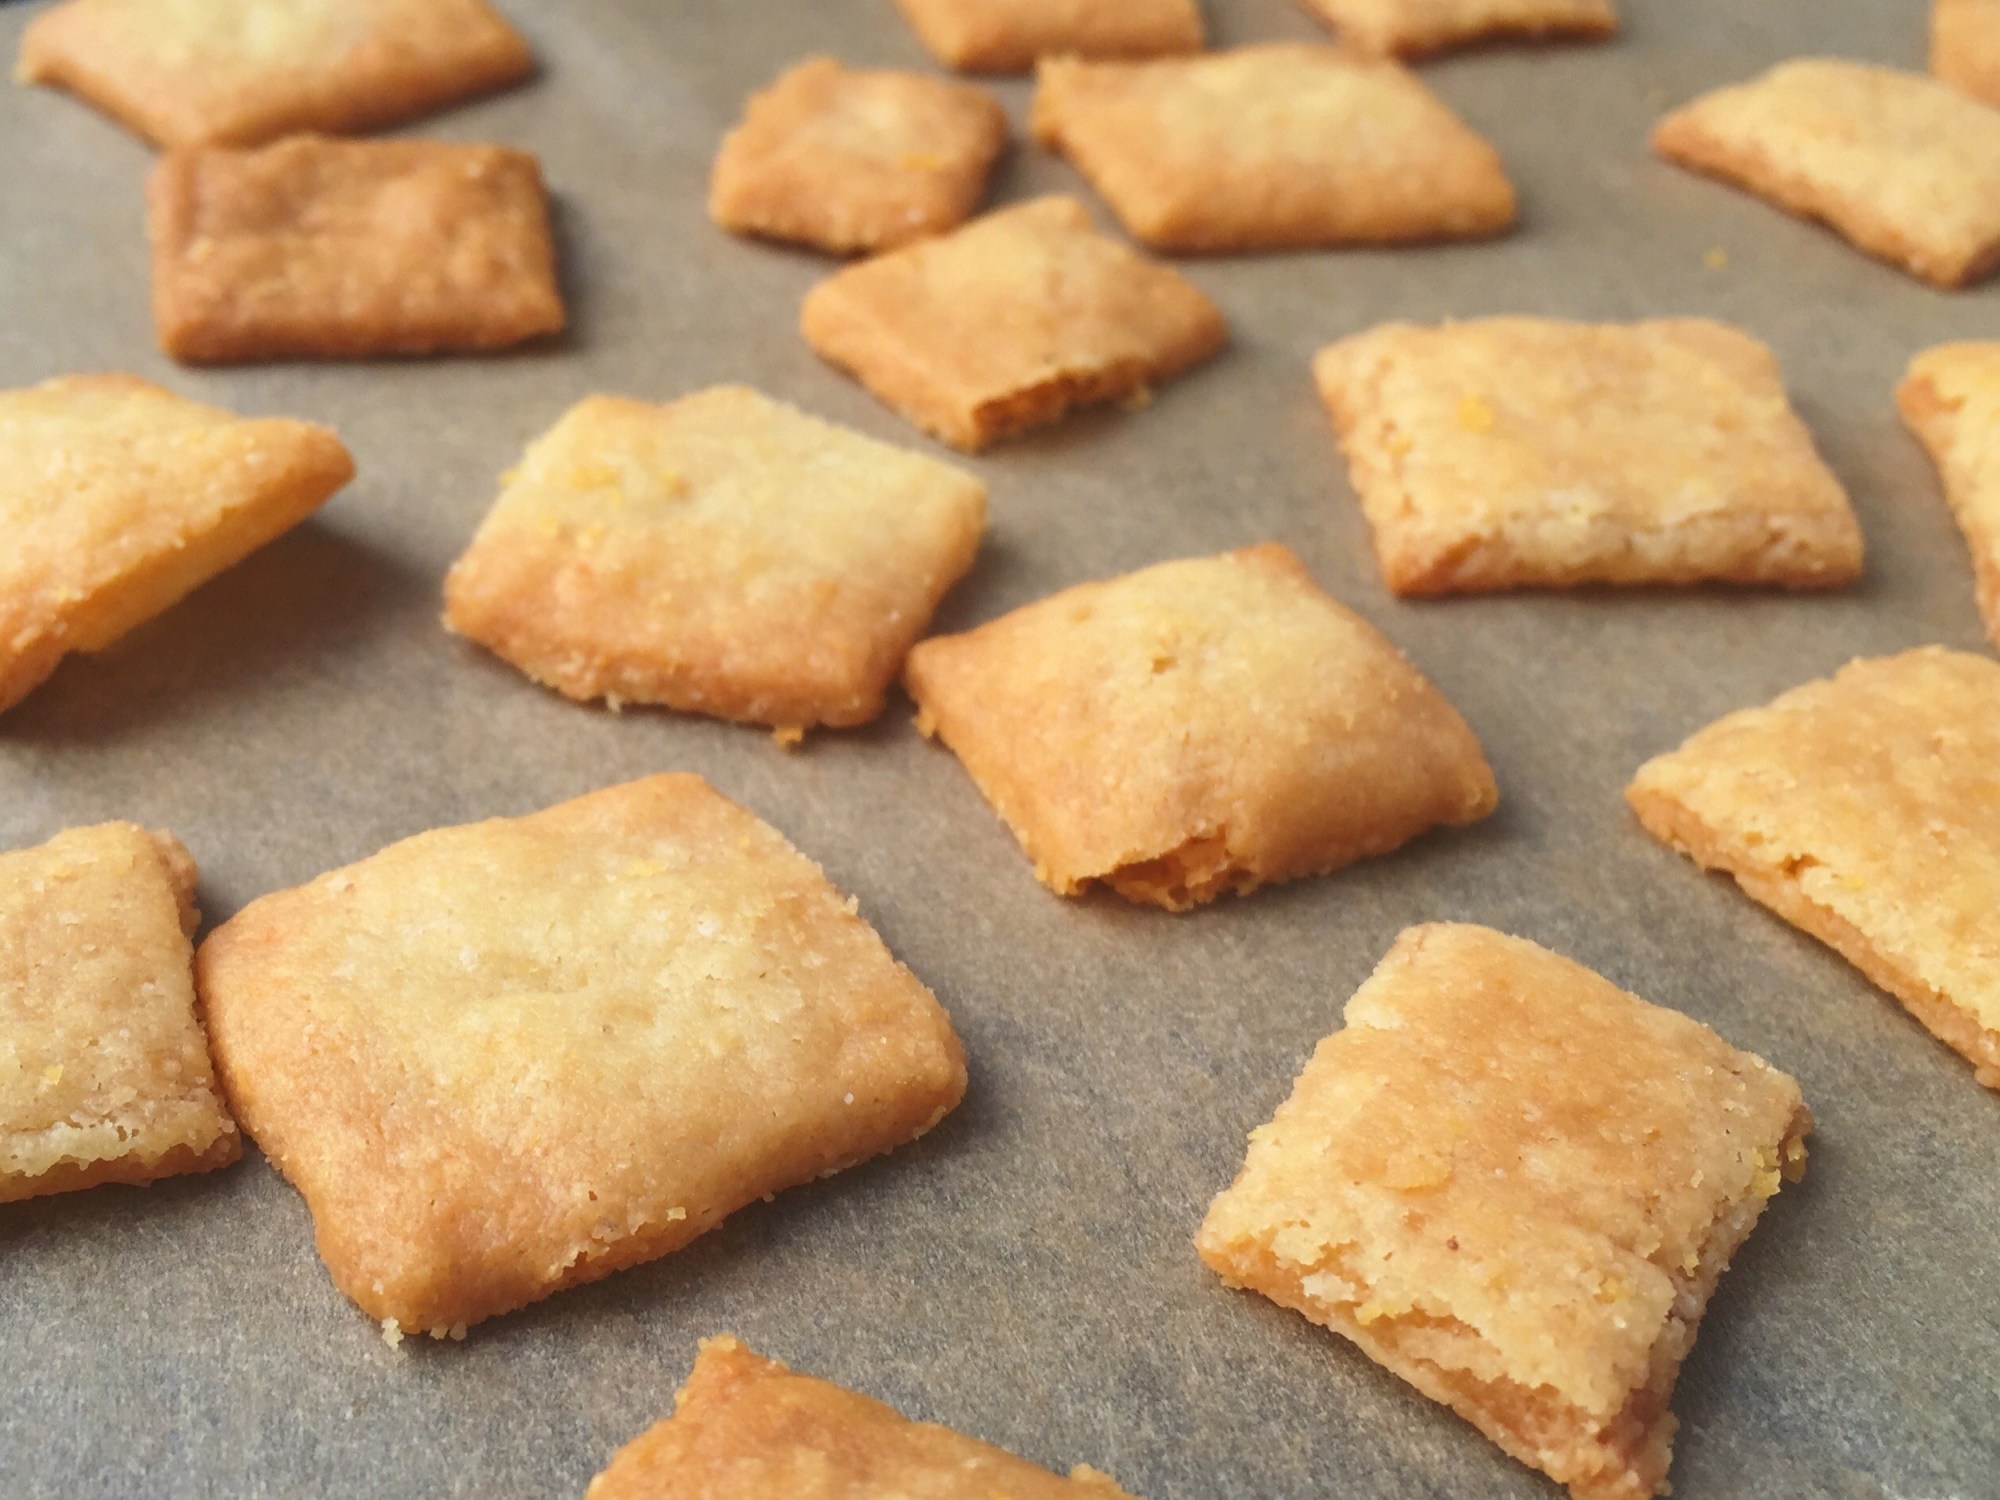
Grain Free Cheese Its (Gluten Free)
This recipe took me multiple batches, the last of my Otto’s Cassava flour, and my taste tester refusing to eat anything else, but the perfect grain free cheese its were born!
Grain Free Cheese Its
prep 10 mins
cook 20 mins
total 30 mins
Ingredients
140 grams of Otto's Cassava Flour (~1 cup)
1 tsp Himalayan sea salt + more to taste
7 oz grassfed cheddar cheese, shredded
4 TBS grassfed butter, slightly softened and cubed
1 TBS palm shortening
2-4 TBS cold water
Instructions
Preheat oven to 375 degrees.
Pulse cassava flour, salt, cheese, butter, and palm shortening in a food processor until small pebbles form.
While pulsing, add in water and process until the dough comes together. Start with 2 TBS of water adding an additional 1TBS at a time as needed.
Split dough into two equal size pieces. You will have enough for two batches.
Between two pieces of parchment paper, roll dough into a large rectangle, approximately 1/8 inch thick. Be careful to roll to an even thickness. If you are finding your dough hard to work with refrigerate it for 15-20 minutes.
Using a pizza cutter or pastry wheel crimper cut dough into squares. Separate squares so they are no longer touching*. Using a fork mark each square with a dot in the center. If desired sprinkle tops with salt.
Move to a large baking sheet (on parchment paper) and bake for 17-23 minutes, until crispy and slightly golden. There is a fine line between burnt and perfect, so start checking them at 15 minutes mark. You may need to remove the edge pieces first and throw the rest back in the oven to finish.
Store in an air tight container or freeze for another day.
Notes
*While not required, taking the time to separate the squares will result in a much better final product and will cook quicker. If you don't have the patience or delicate hands to separate them take the cheese its out at the 15 minute mark, recut with a pizza slicer, pull apart, and put back in the oven to finish.
Grain Free Cheese Its Baking Tips
I tried these a few different ways. I think that the combination of butter and palm shortening makes for the best flavor and crispy texture, but you can sub one for the other if needed. Your butter should be slightly softened to make it easy to work with, but not so soft that it’s melting or won’t form into a dough. As noted in the recipe, if you are finding your dough difficult to work with pop it in the refrigerator for 15 or 20 minutes. You may need to knead it a few times if it hardens up too much, but this does make it a little easier to roll out. If it’s particularly hot out or you’ve made 5 batches and your kitchen is like a furnace (I wouldn’t know from experience or anything) this is particularly helpful. It’s also really important to watch your cheese its as they are nearing the end of the cooking time. Because of the fat content they can burn easily. Some cheese its may have to be removed before the others depending on how evenly you rolled the dough and how wonky your oven temp is. If you choose not to separate the squares prior to baking as suggested, you will likely need to remove the outer edge pieces first. I start checking them at the 15 minute mark and bake in additional 2 minutes increments until they are crispy. You want the cheese its to be crispy all the way through, not just on top.
You can experiment with all different flavors. My mind was racing with all the possibilities. Garlic, ranch, spicy….the possibilities are endless!


